
How It Works
How Pros Find Slab Leaks Without Tearing Up Your Whole Floor
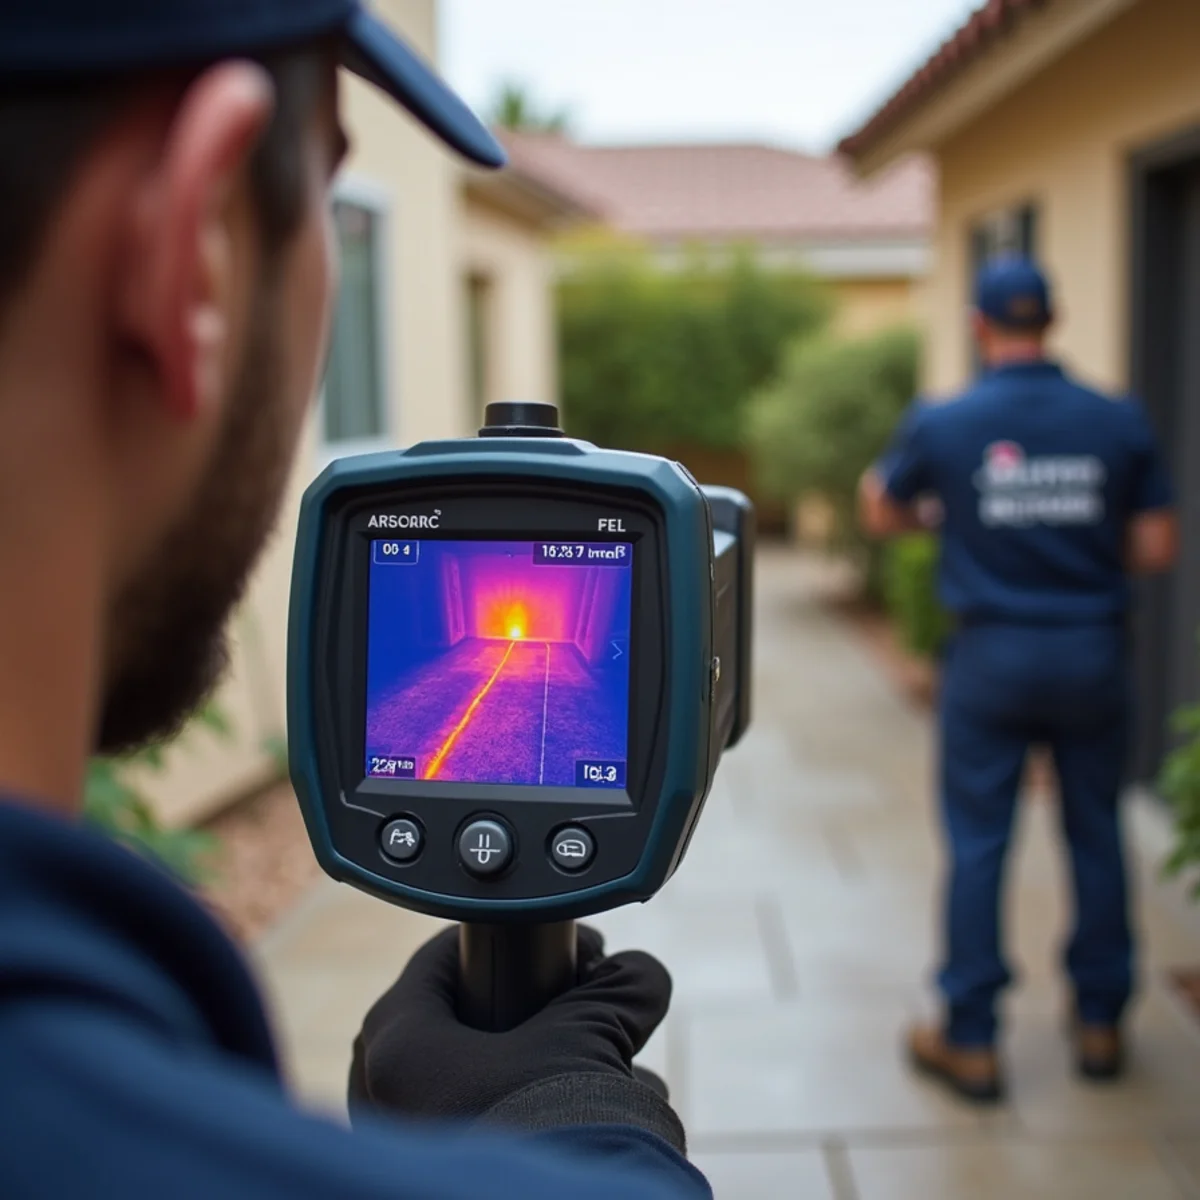
"Are you going to have to jackhammer my whole floor?" is one of the first questions we hear on almost every slab leak call. The honest answer is almost always no. Modern leak detection is built specifically to avoid that outcome — find the exact leak location first, then open only the small section of concrete or flooring that actually needs it.
Here's what that detection process actually looks like, step by step, and why each method exists instead of just picking a spot and starting to dig.
Step one: confirm it's really a slab leak
Before any equipment comes out, we rule out simpler explanations. A meter test — every fixture off, watching whether the leak indicator still moves — confirms water is escaping somewhere in the system. Combined with symptoms like a warm floor patch, an unexplained bill jump, or the sound of running water with everything off, this establishes that the leak is real before anyone starts locating it. It also rules out simpler culprits, like a leaking toilet flapper or an irrigation valve stuck open, that mimic a slab leak's symptoms without actually being one.
Acoustic leak detection
This is the workhorse method. Water escaping a pressurized line makes a distinct sound — a hiss or rushing noise — that travels through concrete and flooring. Acoustic equipment amplifies that sound dramatically, and a technician moves it in a grid pattern across the suspected area, listening for where the noise peaks. That peak is where the leak is closest to the surface, which narrows the search from "somewhere under this room" to a specific few square feet. Background noise matters here too — a good technician will ask you to keep the house quiet during this step, since HVAC systems, dishwashers, and even traffic outside can mask the sound they're listening for.
Thermal imaging
An infrared camera reads surface temperature differences that are invisible to the naked eye. A leaking hot-water line warms the flooring above it, showing up as a distinct warm patch on thermal imaging; a leak on the cold side can sometimes show the opposite effect from evaporative cooling. This method works especially well alongside acoustic detection, cross-checking one reading against the other before anyone marks a spot to open. It's also useful for showing a homeowner the problem directly — a thermal image makes an invisible leak visible in a way that's hard to argue with.
Pressure testing and isolation
Isolating sections of the plumbing system — hot versus cold, or one branch versus another — and pressure-testing each one shows which section is actually losing pressure. This step narrows the problem down to a specific line before fine-location work even starts, and it's what distinguishes a supply-line leak from a drain leak, which matters because the two are located and repaired differently. A supply leak is under constant pressure and typically gets worse over time; a drain leak only shows up when water is actively draining, which changes both the urgency and the detection approach.
Pipe locators and line tracing
Electronic pipe locators trace the physical path of a copper line running through or under a slab, so a technician knows exactly where to expect it rather than guessing based on the home's general layout. Combined with the acoustic and thermal readings, this builds a precise map: here's the pipe, here's where it's losing water, here's the smallest possible access point. On homes with older or undocumented remodels, this step also catches situations where the plumbing doesn't run where the original blueprints would suggest.
What happens once it's pinpointed
Finding the leak is half the job. From there, the repair option depends on the specific situation:
- Spot repair: A small section of slab is opened at the exact failure point and that section of pipe is repaired or replaced — the least invasive option when the rest of the line is sound.
- Reroute: A new line runs above the slab, through the attic, or along a wall instead of through the concrete, bypassing the damaged section without opening the floor at all.
- Repipe: If the existing copper is failing in multiple places, replacing the whole system at once is often more practical — and more cost-effective — than repeating spot repairs every few months.
Slab leak restoration covers this decision along with drying out whatever flooring, subfloor, or wall material the leak already damaged before it was found.
Why this precision matters in neighborhoods like Butterfield Ranch
In Butterfield Ranch, most homes were built in the late 1980s and into the 1990s on slab-on-grade foundations, with copper supply lines that are now well into the age range where pinhole and slab leaks start appearing. In neighborhoods like this, precise detection isn't a luxury — it's what keeps a routine, common repair from turning into unnecessary demolition across a floor that didn't need to be opened in the first place. It also means the technician showing up already knows the construction pattern of your home before ever setting foot inside.
If you suspect a slab leak, don't start guessing with a hammer. Call Water Damage Chino Hills at (201) 277-9344 — we'll pinpoint it first and keep the repair as small as the problem actually is.
Frequently asked questions
How long does slab leak detection take?
Will you need to cut into my slab to detect the leak?
What if the acoustic and thermal readings disagree?
Water Damage Chino Hills
A local, IICRC-certified restoration team serving Chino Hills and the Inland Empire 24/7. Water damage right now? Call (201) 277-9344.